
Nginx — pronounced as “engine x” — is one of the most popular web servers in the world and is used by some of the largest and highest-traffic websites on the Internet. It is an open-source, resource-friendly, high-performance HTTP server that can be deployed as a standalone web server or as a reverse proxy for Apache and other servers.
In this article, you’ll learn how to install the Nginx web server on a Ubuntu 18.04 TLS machine. The same instructions are more or less applicable to Ubuntu 16.04 and other Ubuntu-based distributions like Kubuntu, Linux Mint and Elementary OS.
Prerequisites
To complete this tutorial successfully, you need:
- A Ubuntu 18.04 machine (get one from DigitalOcean)
- A user with sudo privileges
Installing Nginx
Since the latest version of Nginx is already included in the official Ubuntu 18.04 repositories, you can easily install it by using the apt package manager.
Run the following command to update the apt local package index:
# update package index
$ sudo apt update

# upgrade packages
$ sudo apt -y upgrade
Now execute the following command to install the latest version of Nginx:
$ sudo apt install nginx
When the installation is completed, Nginx will start automatically. Type the following command to verify that the Nginx service is running:
$ sudo service nginx status
The output will look like the following:
● nginx.service - A high performance web server and a reverse proxy server
   Loaded: loaded (/lib/systemd/system/nginx.service; enabled; vendor preset: enabled)
   Active: active (running) since Thu 2020-03-26 13:53:55 UTC; 48s ago
     Docs: man:nginx(8)
  Process: 1054 ExecStart=/usr/sbin/nginx -g daemon on; master_process on; (code=exited, status=0/SUCCESS)
  Process: 837 ExecStartPre=/usr/sbin/nginx -t -q -g daemon on; master_process on; (code=exited, status=0/SUCCESS)
 Main PID: 1058 (nginx)
    Tasks: 2 (limit: 2361)
   CGroup: /system.slice/nginx.service
           ├─1058 nginx: master process /usr/sbin/nginx -g daemon on; master_process on;
           └─1060 nginx: worker process
Configuring Firewall
If you are already using ufw to manage the firewall, you’ll need to open both HTTP and HTTPS ports (80 and 443). You can do it by enabling the Nginx Full profile that includes rules for both ports:
$ sudo ufw allow 'Nginx Full'
To verify that both ports are enabled to receive HTTP traffic, run the following command:
$ sudo ufw status
You should see the following output printed on the console:
Status: active

To                         Action      From
--                         ------      ----
22/tcp                     ALLOW       Anywhere
Nginx Full                 ALLOW       Anywhere
22/tcp (v6)                ALLOW       Anywhere (v6)
Nginx Full (v6)            ALLOW       Anywhere (v6)
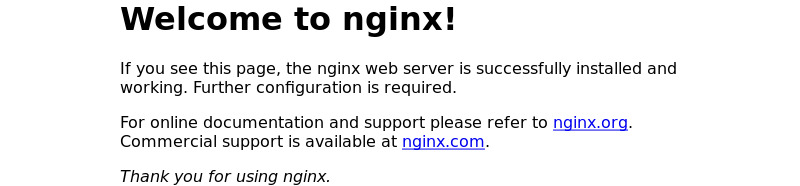
Checking Live Server
To verify that everything is configured correctly, access the default Nginx landing page by typing the following URL in a web browser:
http://your_server_ip
You will be presented with the default Nginx landing page that looks like the following:
Managing Nginx Service
Nginx is installed as a systemd service that can be managed by using standard systemd commands like systemctl or service on Ubuntu.
To stop the Nginx service, run the following command:
$ sudo service nginx stop
To start the Nginx service again, type the following:
$ sudo service nginx start
To restart the Nginx service, just execute:
$ sudo service nginx restart
If you have made some configuration changes, execute the following command to reload Nginx service:
$ sudo service nginx reload
To check the current status of the Nginx service, type the following:
$ sudo service nginx status
By default, Nginx service is configured to start automatically on server reboot. To disable the Nginx service to not start on boot, run the following command:
$ sudo systemctl disable nginx
To enable the automatic startup on boot again, type the following:
$ sudo systemctl enable nginx
Uninstalling Nginx
If you want to remove Nginx web server from your Ubuntu 18.04 machine for any reason, run the following commands in your terminal:
$ sudo apt remove --purge nginx*
$ sudo apt autoremove
$ sudo apt autoclean
Next, type the following to remove all configuration files:
$ rm -rf /etc/nginx
Conclusion
That’s all folks for how to install the Nginx web server on a Ubuntu 18.04 machine. In this article, you have learned how to install, manage, and uninstall Nginx on your Ubuntu server. You’re now ready to start deploying your web applications and use Nginx as a web or proxy server.
You can apply the same instructions for Ubuntu 16.04 and other Ubuntu-based distributions like Kubuntu, Linux Mint and Elementary OS.