
RabbitMQ is a popular message broker software used by tens of thousands of small startups and large companies worldwide.
It supports multiple messaging protocols, including Advanced Message Queuing Protocol (AMQP), Streaming Text Oriented Messaging Protocol (STOMP), MQ Telemetry Transport (MQTT), and other protocols.
The RabbitMQ server is written in the Erlang programming language and is built on the Open Telecom Platform (OTP) framework for clustering and failover.
RabbitMQ runs on many operating systems and cloud environments. In this article, you’ll learn how to install and use the RabbitMQ server on macOS and Ubuntu machines.
Installing RabbitMQ on MacOS
To install RabbitMQ on MacOS, you can use Homebrew — a widely used package manager for macOS operating system.
RabbitMQ formula is available as part of the Homebrew’s core tap. Run the following command to update Homebrew to its latest version:
$ brew update
Now you can install RabbitMQ with the following command:
$ brew install rabbitmq
RabbitMQ formula installation will also install all the required Erlang and OTP dependencies.
By default, RabbitMQ server and CLI tools are installed in the /usr/local/Cellar/rabbitmq/<version>/sbin directory. Symbolic links to binaries are also created under /usr/local/sbin. To access rabbitmq-server command from the command-line, add this directory to PATH:
$ export PATH=$PATH:/usr/local/sbin
To start the RabbitMQ server in the foreground, type the following command in your terminal:
$ rabbitmq-server start
To launch the RabbitMQ server in the background, you execute the following command:
$ brew services start rabbitmq
Optionally, if you want to access RabbitMQ in your browser, enable the management console plugin by typing the following command:
$ rabbitmq-server enable rabbitmq_management
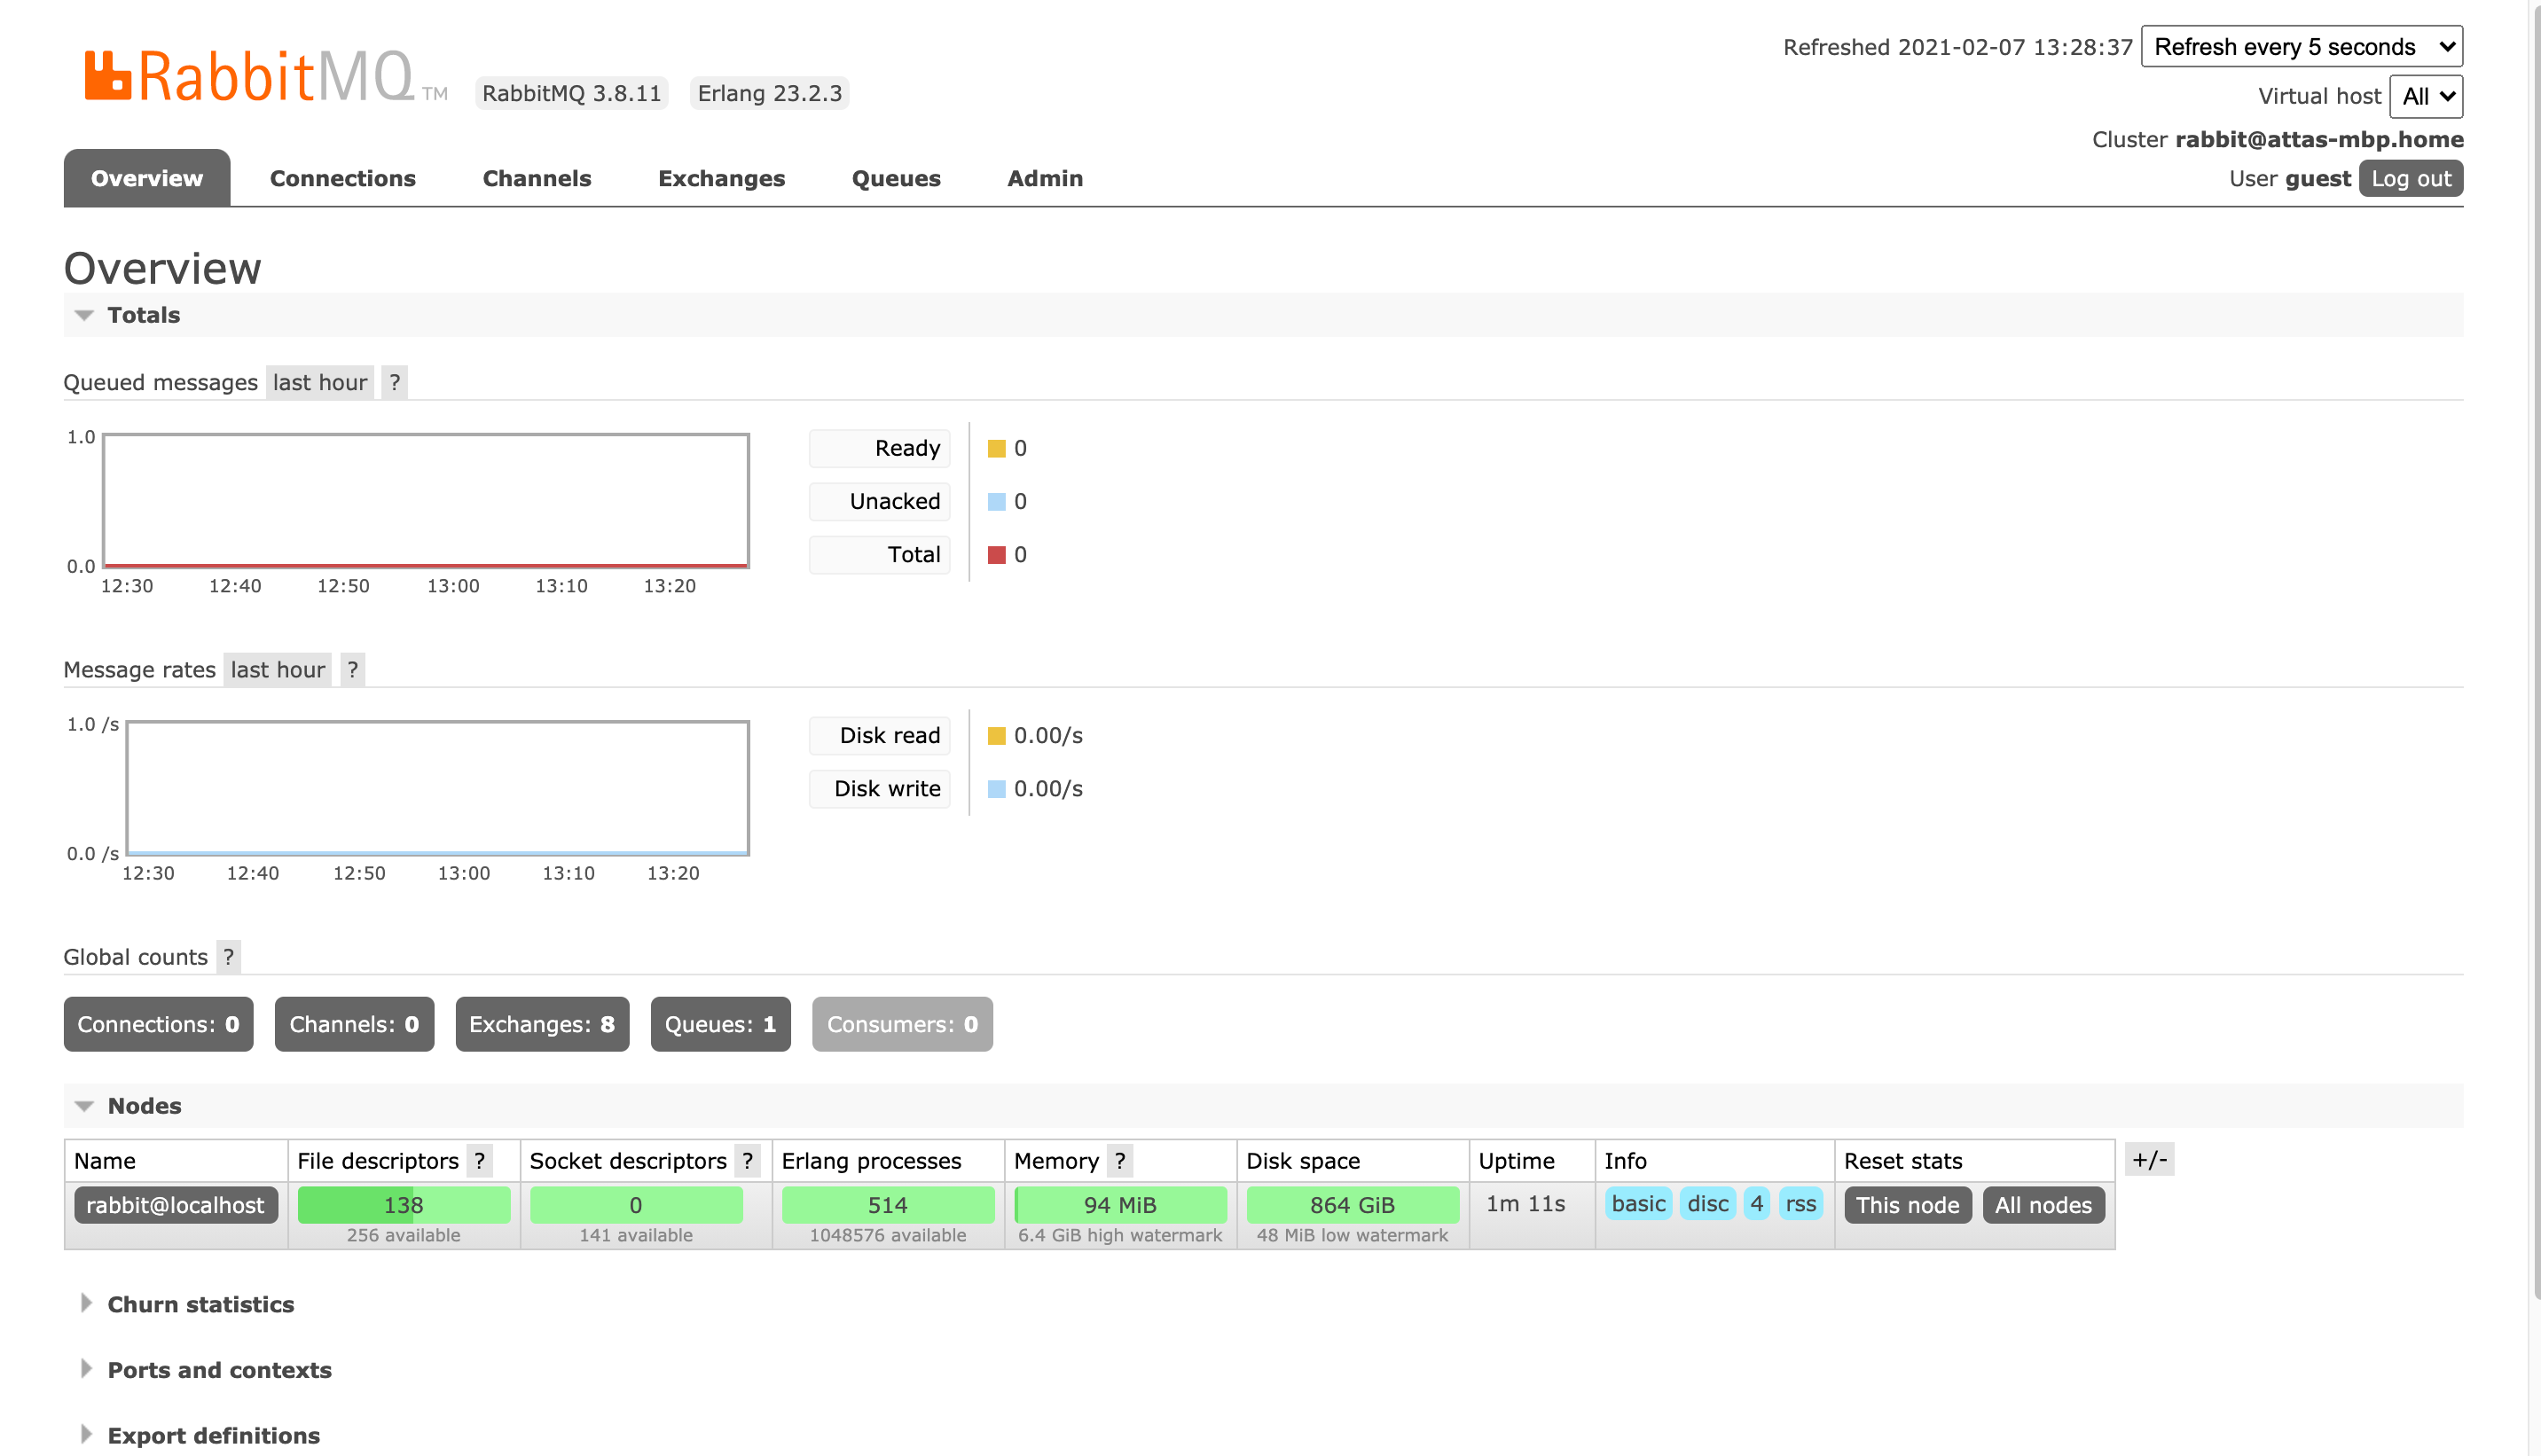
Next, go to http://localhost:15672 to log into the RabbitMQ management console. The default username and password is guest:

Here is how the console looks like once you are logged in:
Installing RabbitMQ on Ubuntu 20.04
RabbitMQ is included in standard Debian and Ubuntu repositories. However, the included versions are usually outdated and months or even years behind the latest RabbitMQ releases.
To install RabbitMQ on Ubuntu, Debian, and distributions based on one of them, you need to perform few additional steps.
Step 1 — Update packages list
Run the following command to update the apt packages list:
$ sudo apt update
Also, install curl and gnupg packages if missing:
$ sudo apt install curl gnupg
Step 2 — Import repository signing key
Execute the following command to import RabbitMQ repository signing key to apt-key:
$ curl -fsSL https://github.com/rabbitmq/signing-keys/releases/download/2.0/rabbitmq-release-signing-key.asc | sudo apt-key add -
This command will instruct apt to trust packages signed by RabbitMQ key.
Step 3 — Enable apt HTTPS transport
The apt-transport-https package must be installed on your Ubuntu machine to download RabbitMQ and Erlang packages from Bintray:
$ sudo apt install apt-transport-https
Step 4 — Add PPA repository
Add the PPA repository for RabbitMQ and Erlang by typing the following command:
$ sudo add-apt-repository ppa:rabbitmq/rabbitmq-erlang
Press the [Enter] button when prompted to finish the import.
Step 5 — Install RabbitMQ and Erlang
Now you’re ready to install the RabbitMQ server and Erlang 23.x on your Ubuntu machine.
Type the following command to update the system packages list:
$ sudo apt update
Next, run the following command to install RabbitMQ and Erlang:
$ sudo apt install rabbitmq-server --fix-missing
Execute the following command to verify the installation:
$ erl -v
You should see the following output:
Erlang/OTP 23 [erts-11.1.7] [source] [64-bit] [smp:16:16] [ds:16:16:10] [async-threads:1] [hipe] [dtrace]
Eshell V11.1.7  (abort with ^G)
Step 6 — Manage RabbitMQ service
RabbitMQ is installed as a systemd service. It means that you can manage it using standard systemd commands like systemctl or service on Ubuntu.
To start the RabbitMQ service, run the following command:
$ sudo service rabbitmq-server start
To check the current status of the RabbitMQ service, issue the following command:
$ sudo service rabbitmq-server status
You can stop the service anytime by typing:
$ sudo service rabbitmq-server stop
If you want to restart the service, use the following command:
$ sudo service rabbitmq-server restart
Conclusion
That’s all, folks! Today, you learned how to install and configure the popular message broker RabbitMQ on your macOS machine and Ubuntu 20.04 LTS server.