
Scaffolding has become a popular choice for quickly generating a bare-minimum application skeleton with all the necessary files, proper directory structure, required dependencies, and build tools. A scaffolded project contains everything you need to get up and running a simple application.
The spring team has provided multiple ways to quickly bootstrap a Spring Boot application. You can either use the Spring Initializr or Spring Boot CLI to scaffold a Spring Boot project.
Spring Initializr
Spring Initializr is a web application developed by Spring Team and hosted on start.spring.io. It provides an extensive API to quickly generate Spring-based projects with implementations for several common concepts:
- Basic language support for Java, Kotlin, and Groovy.
- Build system abstraction with implementations for Apache Maven and Gradle.
.gitignoresupport.- Several hook-points for custom resources generations.
It is simple to use Spring Initializr. Just input your application name and metadata like package name and artifact, choose your favorite build tool (either Maven or Gradle) and Java version, and then select required dependencies from a list.
That is it. The tool will automatically generate and download a zip file containing a skeleton spring boot application based on information you entered.
Let us open start.spring.io web page to bootstrap a new Spring Boot project.
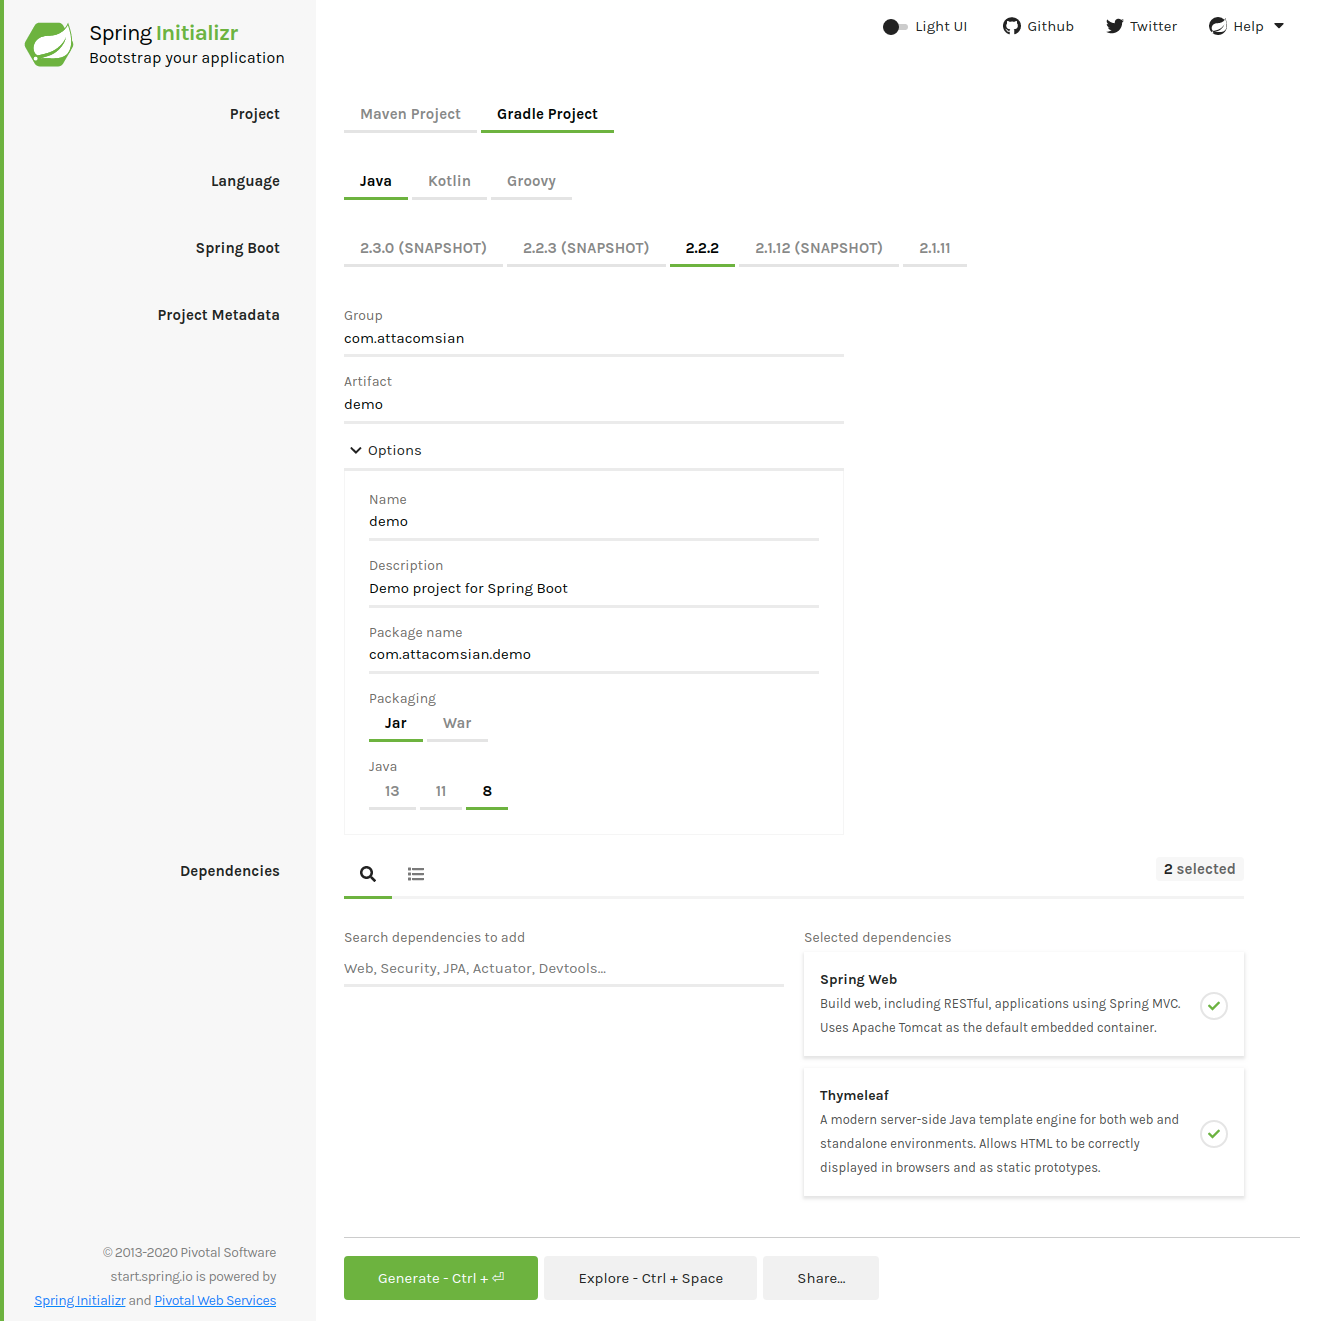
As you can see in the above screenshot, you have to follow the following steps to create a Spring Boot application:
- Choose Gradle Project from the top as a build tool.
- Choose Java as a language. Other options are Kotlin and Groovy.
- Choose Spring Boot version 2.2.2 (at the time of writing 2.2.2 is the latest stable release).
- Next, enter project metadata like an artifact, package name, Java version 8, and packaging.
- Finally, select Spring Web and Thymeleaf from the dependencies list.
- Click on the Generate button to generate and download the project as a zip file.
The downloaded zip file should include all the required directories, the main application class, and build.gradle with all the chosen dependencies .
Next, unzip the file, import the project into your favorite IDE, and start working. There are plenty of IDEs available for developing Java applications. Choose the one you are comfortable working with. I personally use the IntelliJ IDE.
I created a Gradle project using Spring Initializr while writing this tutorial, and here is what it includes:
├── build.gradle
├── .gitignore
├── gradle
│   └── wrapper
│       ├── gradle-wrapper.jar
│       └── gradle-wrapper.properties
├── gradlew
├── gradlew.bat
├── HELP.md
├── settings.gradle
└── src
    ├── main
    │   ├── java
    │   │   └── com
    │   │       └── attacomsian
    │   │           └── demo
    │   │               └── DemoApplication.java
    │   └── resources
    │       ├── application.properties
    │       ├── static
    │       └── templates
    └── test
        └── java
            └── com
                └── attacomsian
                    └── demo
                        └── DemoApplicationTests.java

16 directories, 11 files
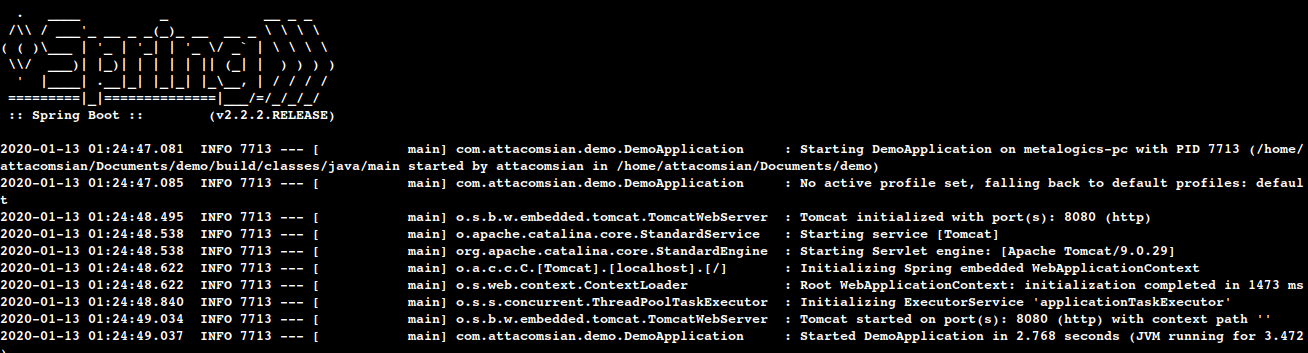
As you can see above, the directory structure includes everything you need. Now you can type the following command in your terminal to run the application:
$ ./gradlew bootRun
The application should start running without any errors. Make sure you have already installed Java and Gradle on your machine. Here is what it looks like:
Spring Boot CLI
The Spring Boot CLI (Command Line Interface) is a command-line tool that you can use to quickly prototype Spring-based projects. It allows you to run Spring micro-services developed using Groovy scripts without so much boilerplate code.
The CLI is not required to work with Spring Boot, but it is absolutely the fastest way to bootstrap a Spring Boot application.
The quickest way to install Spring Boot CLI is by using the SDKMAN! (The Software Development Kit Manager). It manages multiple versions of different binary SDKs, including Groovy and the Spring Boot CLI. You can find the setup and installation instructions for SDKMAN! from here.
After installing SDKMAN!, run the following command to automatically install and configure Spring Boot CLI:
$ sdk install springboot
Next, type the following to confirm the installation:
$ spring --version
Spring Boot v2.2.2.RELEASE
Check out the Spring Boot CLI documentation for instructions on how to install Spring Boot CLI on your operating system.
In the next section, we will look at the spring init command provided by Spring Boot CLI to quickly scaffold a Spring Boot application. This command internally uses the Spring Initializr web services to generate and download the application with chosen dependencies.
Open your terminal and type the following to get all the information about the init command:
$ spring help init
Here is a list of example commands that you can use with spring init:
# To list all the capabilities of the service:
$ spring init --list

# To create a default project:
$ spring init

# To create a web my-app.zip:
$ spring init -d=web my-app.zip

# To create a web/data-jpa gradle project unpacked:
$ spring init -d=web,jpa --build=gradle my-dir
Let us create the above application, which we just created using the Spring Initializr web interface, using the Spring Boot CLI init command:
$ spring init -n=demo -d=web,thymeleaf --package-name=com.attacomsian --build=gradle demo
The above command will generate and download a new Spring Boot project in a folder named demo in the current working directory. Here is what this folder includes:
├── build.gradle
├── .gitignore
├── gradle
│   └── wrapper
│       ├── gradle-wrapper.jar
│       └── gradle-wrapper.properties
├── gradlew
├── gradlew.bat
├── HELP.md
├── settings.gradle
└── src
    ├── main
    │   ├── java
    │   │   └── com
    │   │       └── attacomsian
    │   │           └── DemoApplication.java
    │   └── resources
    │       ├── application.properties
    │       ├── static
    │       └── templates
    └── test
        └── java
            └── com
                └── attacomsian
                    └── DemoApplicationTests.java

14 directories, 11 files
Isn’t it quick and straightforward? Yes, it is!
Conclusion
We looked at two distinct ways to quickly bootstrap a skeleton Spring Boot application using the Spring Initializr web tool and the Spring Boot CLI.
Spring Intializr is a user-friendly web interface that allows you to input Spring Boot project metadata, choose the language, build tool, and desired dependencies from a list of all available dependencies. It is the best available option if you are not comfortable using the command line.
The Spring Boot CLI is the best choice if you are a command-line aficionado. It allows you to do everything from the command line. You can do not need to open a web page and then manually input all the details.